How to Grow Oyster Mushrooms at Home
Growing oyster mushrooms from scratch is one of the most rewarding ways to understand how fungi actually work. While mushroom grow kits make the process simple, learning the full method from ordering spawn to harvesting your first flush gives you complete control over the process.
This guide walks through a beginner-friendly DIY bucket grow method commonly used by home growers across the UK. You’ll learn how to prepare substrate, reduce contamination risk, colonise mycelium successfully, and trigger fruiting indoors.
If you enjoy hands-on projects or want to experiment with growing food in a different way, this step-by-step approach is a great place to start.
What Are Oyster Mushrooms and Why Grow Them Yourself?
Oyster mushrooms are one of the easiest edible fungi to cultivate. Unlike many species, they grow aggressively and can outcompete minor contamination when conditions are right.
They naturally grow on wood and plant material, which makes them perfect for simple bucket or bag grows using straw or hardwood pellets.
DIY growing allows you to:
- Produce larger quantities of mushrooms.
- Experiment with substrates.
- Understand the full fungal life cycle.
- Reuse equipment for future grows.
How to Grow Oyster Mushrooms at Home
Step 1: Order Mushroom Spawn
Spawn is the starting point of mushroom cultivation. It contains live mycelium growing through sterilised grain or sawdust.
Look for reputable UK suppliers selling oyster mushroom grain spawn. Fresh spawn performs significantly better than older stock. I bought my first bag of spawn from eBay.
Store spawn in the fridge until ready to use and allow it to reach room temperature before opening. IMPORTANT: If you have purchased pink oyster mushroom spawn, do not store in this in the fridge, as the pink oyster is a tropical species, and the cold temperature could kill off the mycelium. Pink oyster spawn prefers to be stored aorund 10 degrees celcius.
Step 2: Gather Equipment
For a simple bucket grow you will need:
- A clean plastic bucket with lid.
- A drill or heated screwdriver to create holes.
- Chopped straw. (I found a bag at Pets At Home for a low cost.)
- Oyster Mushroom Grain Spawn
- Boiling water.
Drill holes roughly every 10–15cm around the bucket. a 10mm drill bit works well. These openings allow mushrooms to fruit later.
Step 3: Prepare the Substrate
Oyster mushrooms grow well on straw because it holds moisture while allowing airflow.
Soak your straw in boiling water, cover and allow to cool completely.
This process pasteurises the substrate, reducing competing organisms without requiring specialist equipment. This low-tech method works well for oyster mushrooms as they are relatively good at resisting contamination.
Allow the straw to cool completely before adding spawn.
Step 4: Follow Basic Sterile Procedure
Contamination is the main reason DIY grows fail.
You don’t need a laboratory setup, but cleanliness matters. Having said this, oyster mushroom mycelium is very good at resisting contamination. If you can,
- Wash hands thoroughly.
- Clean surfaces before working.
- Avoid working near open windows or strong airflow.
Open spawn bags only when ready to mix.
Step 5: Mix Spawn Into the Bucket
Drain excess water from the straw so it feels damp rather than dripping. This is called "Feild capacity". To check if your straw is at feild capacity, squeeze it hard in your hand and only a few drops of water should squeeze out.
Layer substrate and spawn inside the bucket:
- Add a layer of straw.
- Sprinkle spawn evenly.
- Repeat until full.
Aim for roughly 10–20% spawn compared with substrate volume.
Press gently but avoid compacting too tightly.
Step 6: Colonisation
Close the bucket lid and place it somewhere warm and dark. If you're in the UK, you'll have much better success colonsing your bucket indoors.
Ideal locations include cupboards, garages, or shelves away from direct sunlight.
Colonisation usually takes 10–21 days depending on temperature.
During this time:
- Try not to open the bucket too much
- White mycelium should slowly spread through the straw.
- A mushroom smell is normal.
Green or black patches usually indicate contamination.
You should see white mycelium growing within a couple days of innoculation.
Step 7: Trigger Fruiting
Once fully white inside, mushrooms are ready to fruit.
Move the bucket into indirect light with fresh air access.
- Mist the holes 1-4 times daily.
- Avoid soaking the bucket.
- Maintain normal room airflow.
Pins (Pins are what we call baby mushrooms) typically appear through the drilled holes within one week. They will roughly double in size every 24 hours after that.
Step 8: Harvest Your Mushrooms
Harvest when caps flatten but before edges curl upward.
Grip the base of the cluster and twist gently to remove.
Continue misting as normal after your first harvest, and they should re-grow 1-3 more times.
Tips for Success
- Cooler temperatures slow growth but improve quality.
- Humidity matters
- Clean handling early on prevents most problems.
- Fresh spawn dramatically improves success rates.
Common Beginner Mistakes
- Adding spawn while substrate is still hot.
- Using old or poorly stored spawn.
Closing
Growing oyster mushrooms from scratch is hugely satisfying and teaches you how fungi behave at every stage of their life cycle. Once you understand colonisation and fruiting, you can experiment with different substrates and setups.
That said, DIY growing does take preparation and patience.
Or Skip the Setup Entirely
If you’d rather avoid sourcing spawn, pasteurising substrate, and managing contamination risk, you can start growing immediately with a ready-to-fruit option.
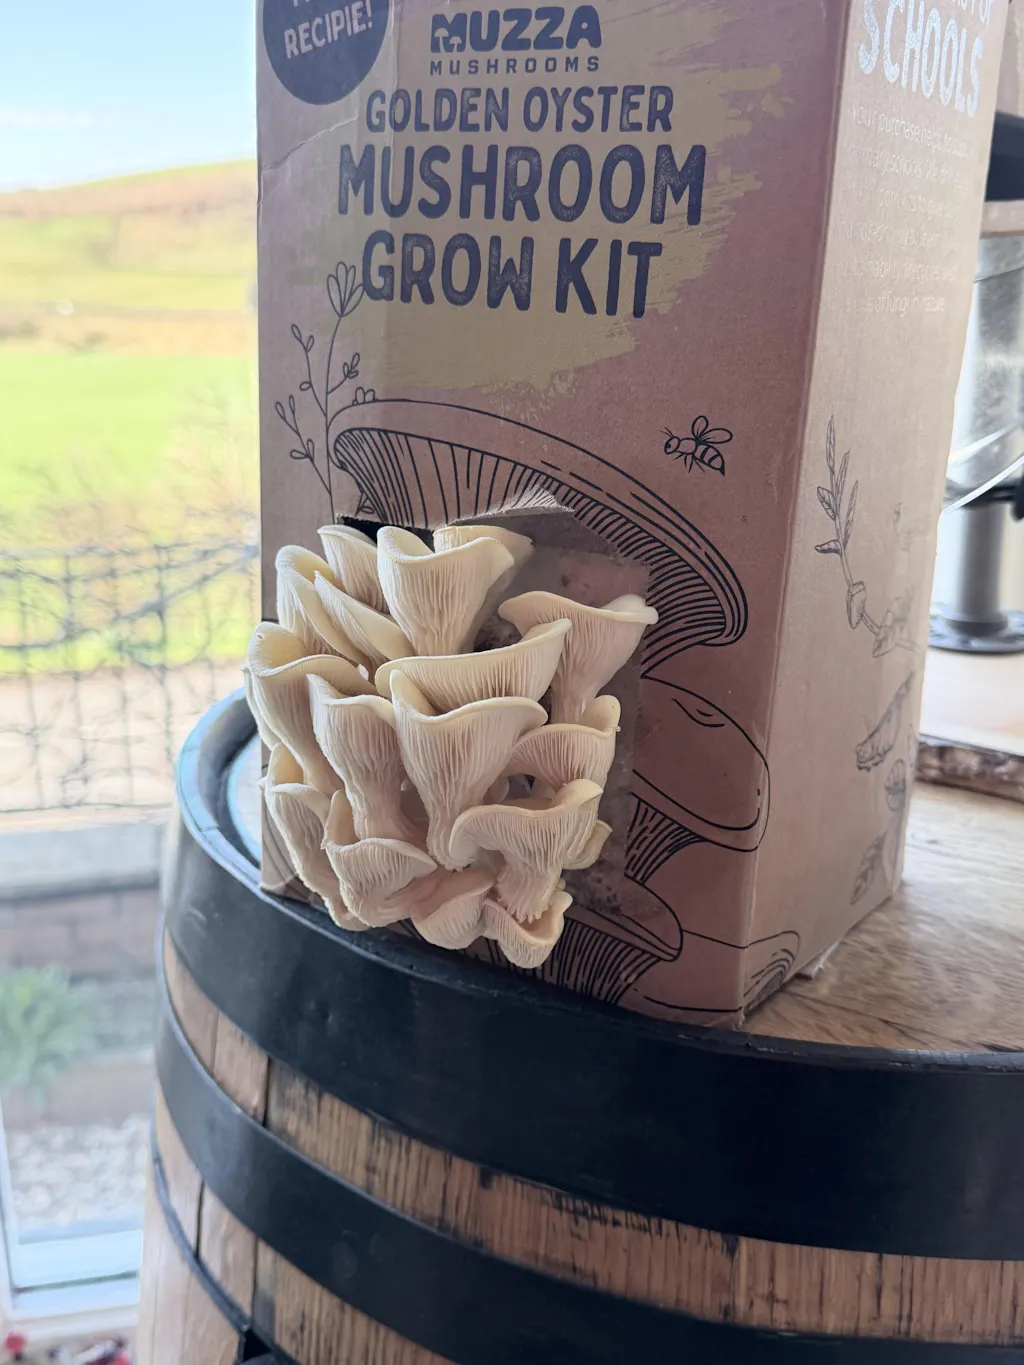
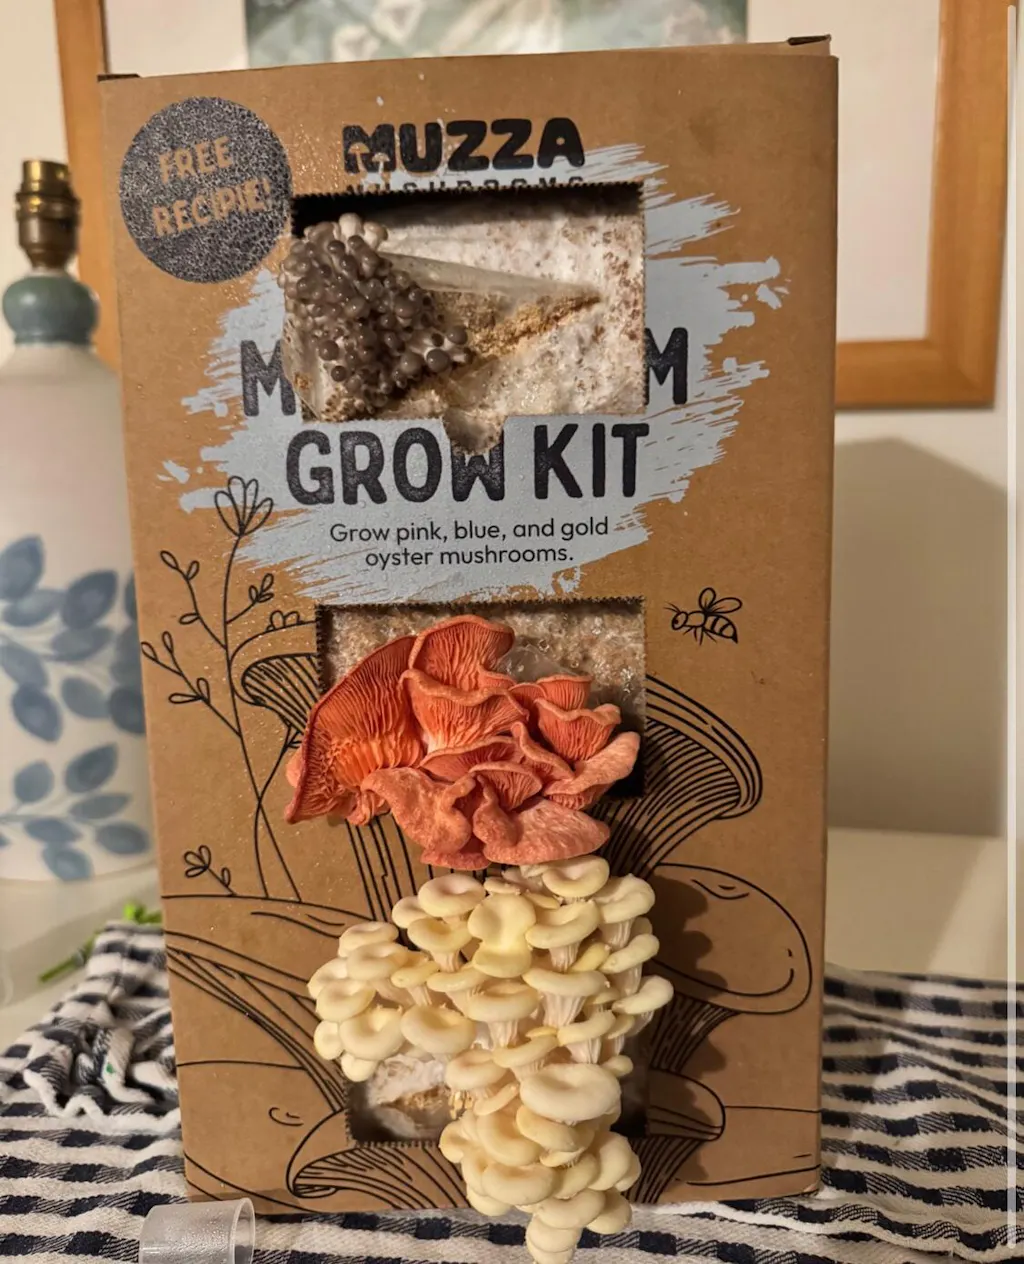
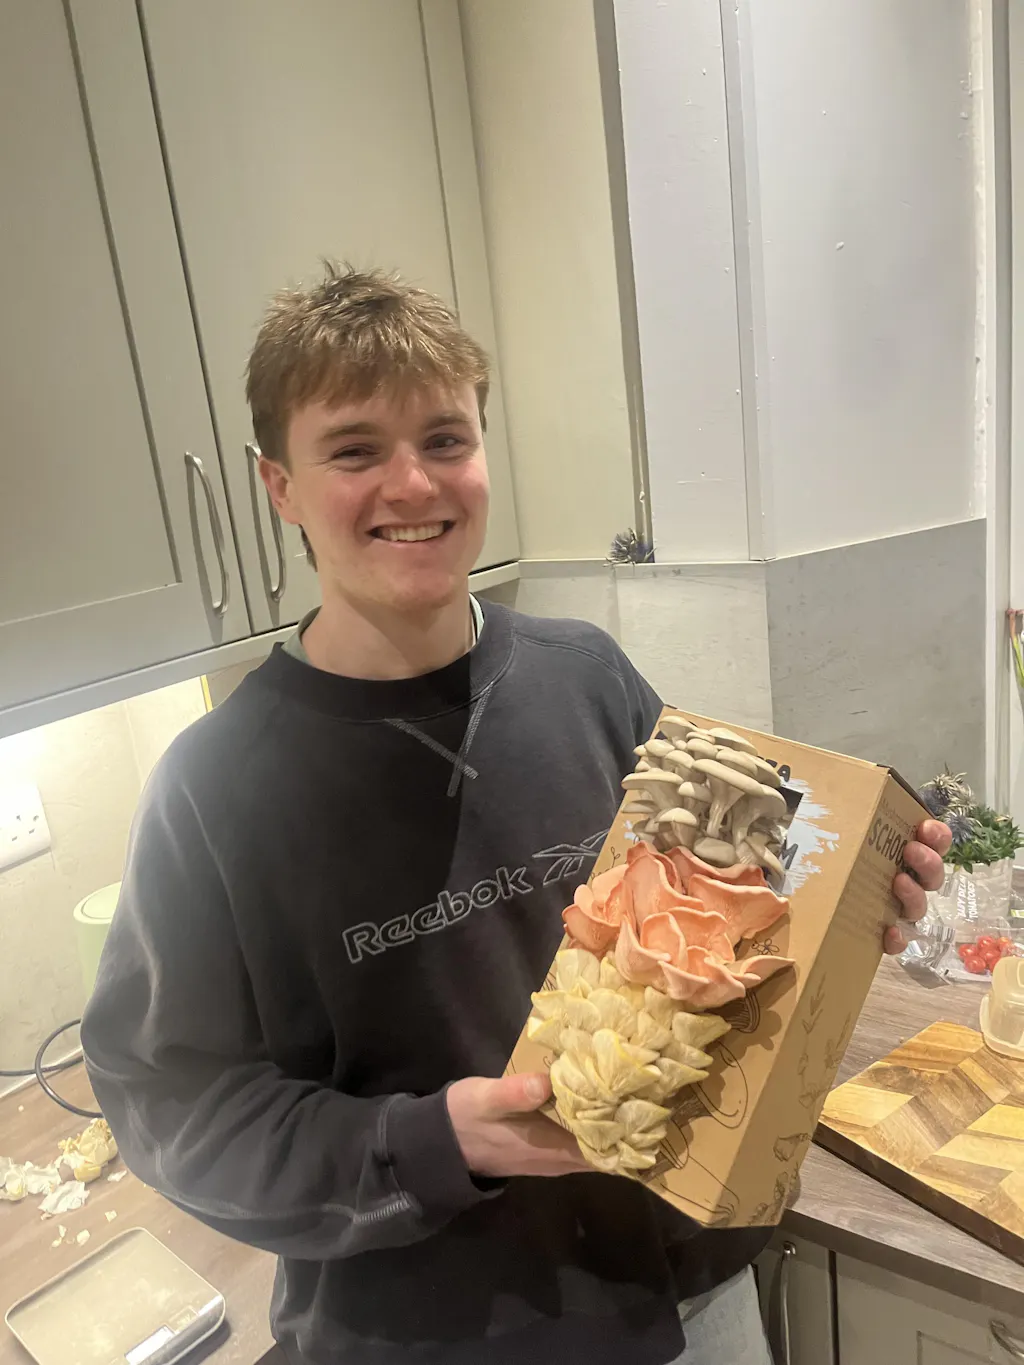
The Muzza Mushrooms 3-in-1 oyster mushroom grow kit removes the preparation stages and lets you focus on watching Blue, Pink, and Golden oyster mushrooms grow straight from the box.